Tuesday, August 13, 2013

Piano Bar 2: Harpectomy

My friend Josh and I like to play this game we call "good idea bad idea".  It's not really a game so much as it's me proposing a perfectly reasonable if slightly outside-the-box solution for a problem, and Josh rolling his eyes at me and saying "ok, let's play good idea/bad idea".  I think I may have permanently won that game based on this particular adventure.

My previous record was probably removing a motorcycle from a truck bed alone with no ramps by tying it to a porch and driving the truck out from under it.  This particular plan beats that, I think.

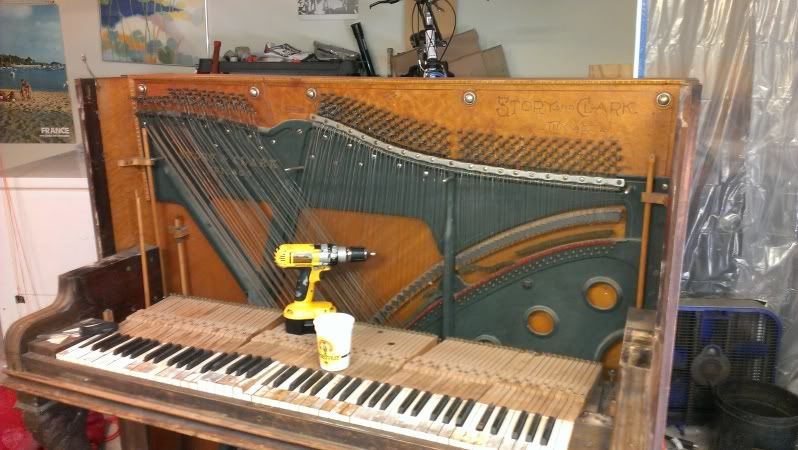
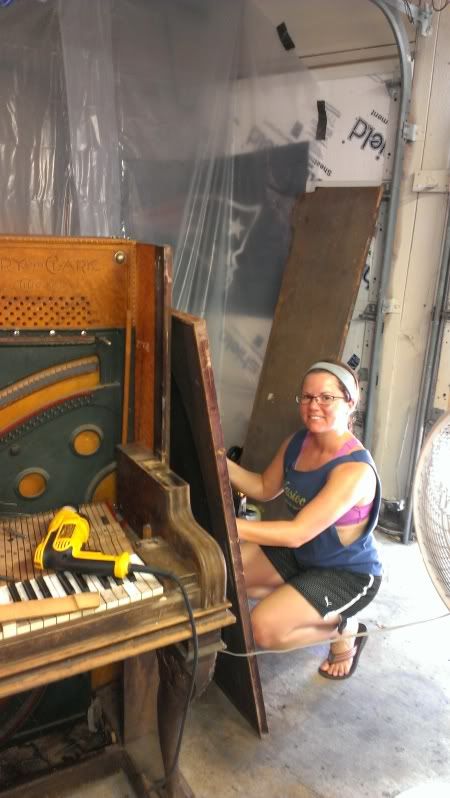
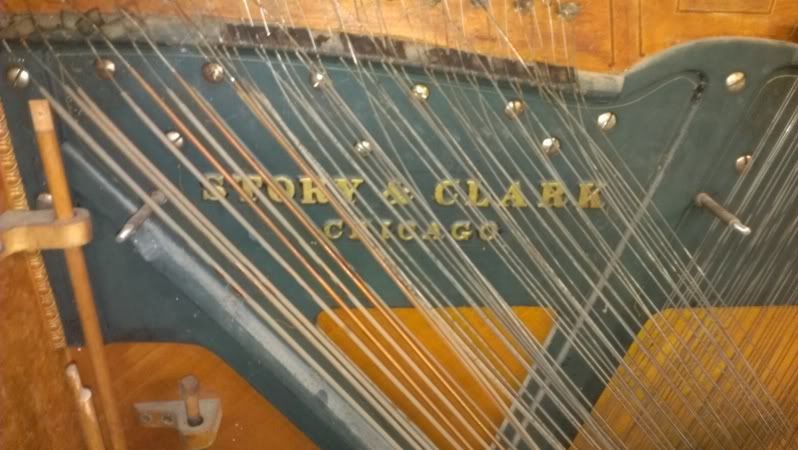
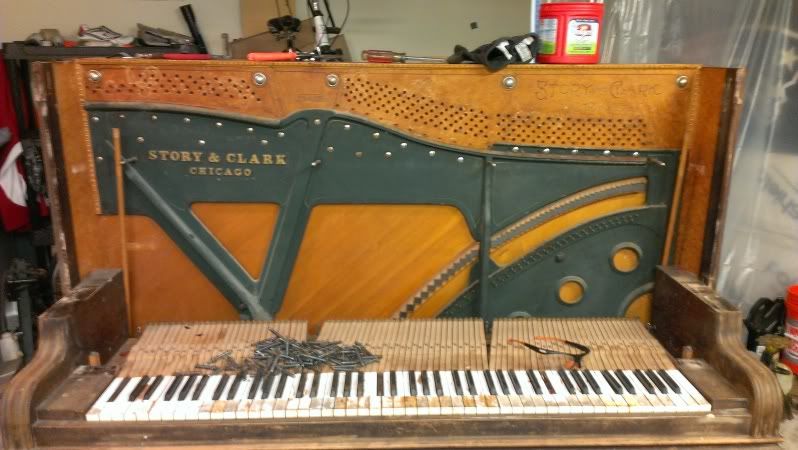
Anyway, I had the 600+lb piano, with the 400-450lb cast iron harp in it, more or less ready to remove.  I had removed all of the bolts and giant lag screws and everything else I could get my tools on.  I had 2.5 hours before needing to meet some friend for dinner, and nobody around to A: help, or B: say "Matt, this is a really bad idea".

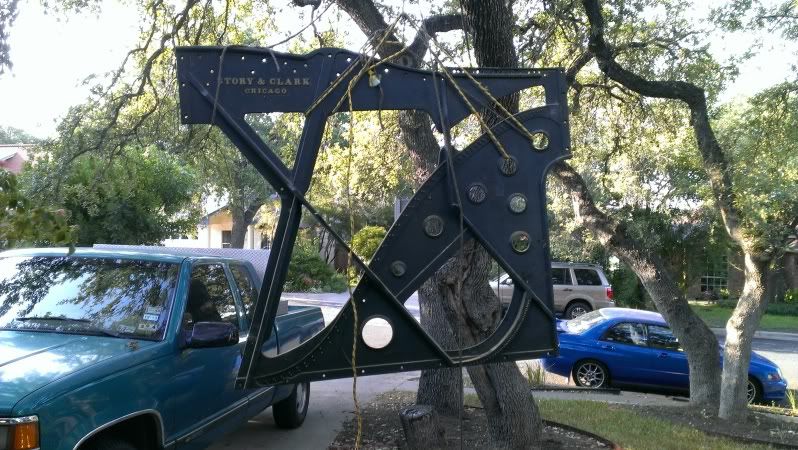
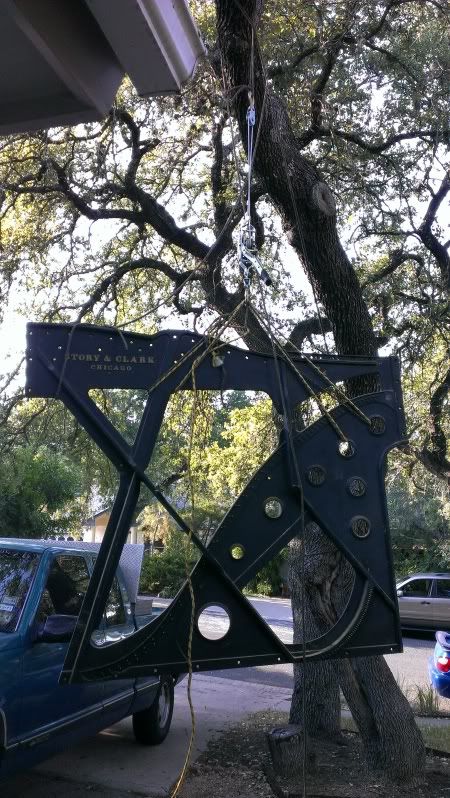
So I decided I'd use some 1" pvc pipe as rollers to push the piano down my driveway under a tree, and then use an 8000lb capacity come-a-long hooked to a big tree limb to winch the harp up out of the piano.  I honestly should never have even tried to move the piano alone, let alone the rest of this hare-brained scheme.  It had vanishingly small odds of ending well.  But like Han, I don't want to know the odds, so away I went!


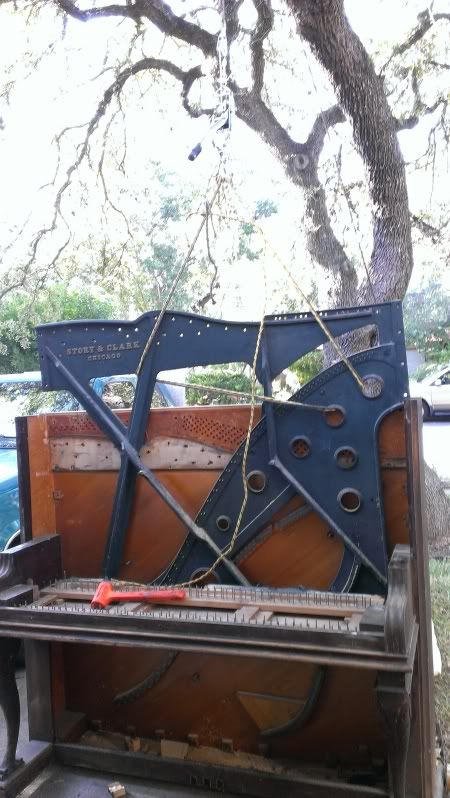
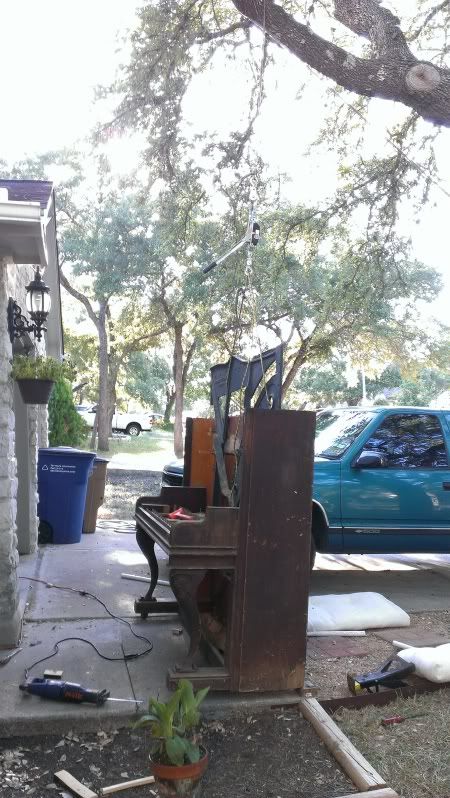
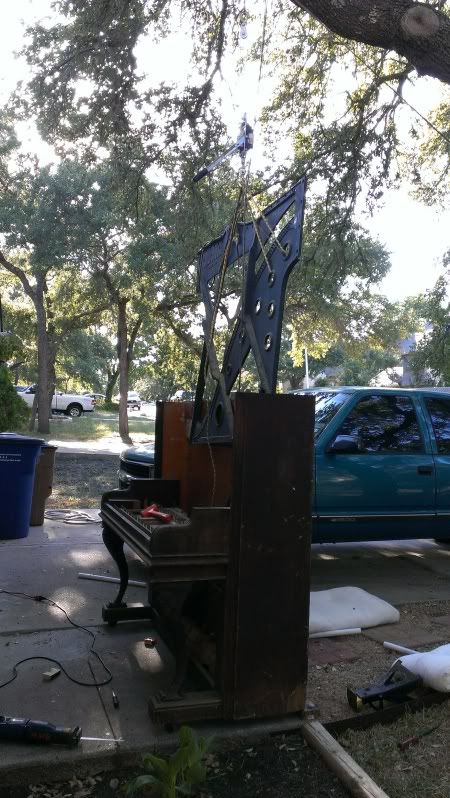
And here it is, a massive cast iron structure, outside of its piano home for the first time in over 100 years, hanging from a tree in my front yard:


And the remarkably un-destroyed piano:

Seriously, this had NO right working out as well as it did.  I even managed to lower the harp safely onto a dolly and roll it all back into the garage in time for dinner.  I'm very pleased with progress so far, and I'm excited to start laying out the structure of what comes next, and working on the refinishing.  Some of the wood in this piano is really beautiful, under the severely deteriorated finish.  There's some really neat burled stuff, and inlays, and all kinds of cool details, so as that part of the project slowly comes along, it will be really fun to see it develop.  There are also a lot of really interesting chromed steel and cast brass and bronze parts inside that I want to reuse as parts of the bar, so while the disassembly has gone pleasantly fast, the slower but more creative re-assembly phase is going to be a lot of fun.

Piano Bar! Get it?

One of the big reasons I wanted to finish up that dust containment system (which is working great by the way), is because we were about to embark on a pretty exciting and ambitious project.  We wanted to get our hands on a beat up old upright "cabinet grand" style piano, gut it, and build it into a bar for our house.  After a lot of craigslist scouring, we finally found the right piano for the right price (free!).

It's a 1909 Story and Clark.  Here are the pictures from the craigslist ad:


As you can see, it's a cool old piano.  It's in rough shape cosmetically, but it's pretty much all there structurally. It weighs a solid 600+ lbs, so we borrowed a cousin's trailer (thanks Brian!) and managed to entrap a friend (thanks Jim!) into coming with us to load it up.  A good deal of winching and a lot of tiedowns later, it was on the road.  The age of the thing leads to interesting thoughts.  I mean, I wonder if the guys who built this thing over 100 years ago ever imagined it doing 70mph down the highway strapped to the back of a beat up pickup truck...

Anyway, after another spate of grunting and heaving, we managed to get it off the trailer into the garage.  More or less immediately we started disassembling it.  All the removable parts need to come off for cleaning and refinishing, and all the guts need to come out to make space for booze and other bar items.  The first big time challenge was removing the strings.  The amount of tension stored in them is astronomical, so in order to stay safe, they had to come out before we messed with any of the real structure of the piano.  There are a LOT of strings in a piano.  Fortunately the tuning pegs are 1/4" square drive, so a small 1/4" drive socket stuck backwards in my drill made quick work of de-tensioning them.

Here are some initial dis assembly pictures:


By this point we had a lot of the trim and removable wood parts removed, the hammer rack out, and all of the strings and tuning pegs removed as well.  The next big step is to remove the "harp", the enormous cast iron piece bolted to the wooden sound board.  As I said earlier, the whole piano weighs north of 600lbs, and the harp makes up at least 400-450lbs of that.  The other issue is that when a piano like this is constructed, it appears that the harp is bolted to the soundboard, and then the rest of the piano is largely built around it.  So removing the harp was always going to be an adventure, as you will see in the next post.

Wednesday, August 7, 2013

Project dust containment

As you may have noticed from prior posts, I do a fair number of messy, dirty, dusty projects in my garage.  Unfortunately, our laundry is also in the garage, as is all of my hockey gear, and a bunch of other stuff that I don't love getting covered in metal dust, saw dust, oil mist, or any of the other various messes I tend to create.

Sibyl and I also have some significant projects coming up, so I felt like now was a good time to address these problems.

I took a page from my mold remediation experience, and decided what I needed was basically an easy to set up and remove clean air pressurized containment barrier.  I also have to remember that I'm in a rental house, so I can't tear it up too much.  I stopped in at home depot and picked up some poly sheeting, a couple of adhesive zippers, some string, eye hooks, an HVAC air filter, and some 1/2" pvc.

I attached the poly sheeting all along the ceiling, put zippers at the edges and corner, and used the pvc and string to set it up so I could roll the sheeting up like a big shade.  Then in one of the ends I taped the air filter, and then stuck a bunch of velcro on it, and on a box fan I keep in the garage.  That way I can pressurize the clean side of the barrier with filtered air, so that no dust or fumes pass through all the leaks.

Here are a bunch of pictures:

The working side:


The clean side:


Fan and filter:


And with the walls rolled up: